
Orange may not be the perfect rhyming word but its zeal is supreme in the world of arts and craft, especially with tissue paper. In this article titled “Orange Tissue Paper — Craft Decor Ideas and Mix-n-Match Art Fun Project,” you can explore some amazing DIY projects that you will simply enjoy.
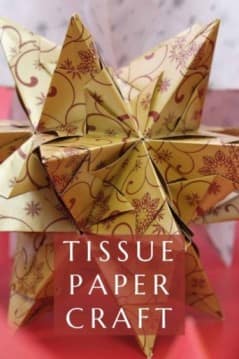
It can be used to make some really cute and dainty objects. And if your tissue paper is crisp and sturdy enough, then origami flowers made out of orange tissue paper could really suit that center table of yours. Just saying!
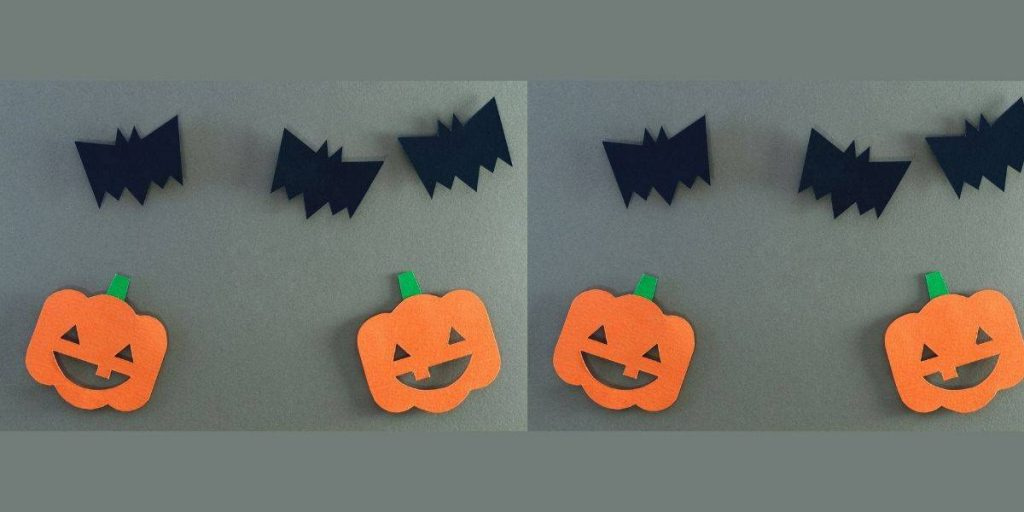
Orange is also the color of Halloween. In fact, combining orange tissue papers and black tissue paper together would make for some real spooky pumpkins for home decor. Don’t you think?
Tissue papers also make for cost-efficient decorations for parties, and other special occasions.
If you are planning a gender reveal party, then you can decorate the entire venue with, for example, blue tissue paper (for a boy, of course) streamers, pom poms, tissue paper flowers and balloons and what not.
If you’re planning your sweet 16th and would like it to have a regal theme for your venue, then combining blue tissue paper with white and orange tissue papers will add a pinch of authenticity and royalty to your party.
And to make your search for these novel ideas easier, we have shortlisted the most extravagant of arts and craft items that you can make using orange tissue paper, and more.
DISCLAIMER: PaperCanyon is reader-supported. If you make a purchase through links on our site, we may sometimes earn a commission at no additional cost to you. As an Amazon Associate, we earn from qualifying purchases.
Here’s a fun fact:
Arts and craft helps preschoolers and toddlers in building a sense of achievement and boosts their self-confidence. Engaging in these artistically driven challenges can evolve their decision-making skills and foster creativity.
Handy Tips for Beginners
In order to make exquisite color combinations out of orange tissue paper and other types of tissue paper, there are certain things that you should keep in mind. Combining together various combinations of colors can be tricky. The entire theme of your event could drastically change if you tamper with the colors involved.
So to give you an early heads up, here are a few tips that you can use while planning the theme of your venue, or making a pinata (Wikipedia Link) for your toddler’s fourth birthday party.
- While deciding the theme and decor of your venue, do keep in mind that light-colored tissue papers – the color of pink, salmon, and yellow do their best work during the daytime.
- For a night event, use more pronounced and prominent colors of tissue papers for decorative purposes. Colors on the darker side of the spectrum work best when combined with colors on the lighter side of the spectrum. In simple words, we’re talking about black and white.
- If there are more than three colors involved, do make a mental note of the sequence of the combination that you finalized upon. It could be that the colors look absolutely splendid in one sequence, but an abomination in another. Not literally, of course, but do keep this in mind.
Let’s Art!
Now that you know how to combine orange tissue paper with other colors, let’s look at some classic collections of arts and craft decor ideas for your house, parties and house parties. And not just that, we will also learn other fun things to do with orange tissue paper.
Orange and Blue Tissue Paper
Orange and blue tissue papers serve as the best combination for gift wrapping tissue paper. Gift wrapping tissue papers are used to wrap fragile and delicate items that are to be gifted. If you want to get creative with it, then you can add some glitter into it, or maybe a hand-written note.
Have you ever thought of making orange and blue tissue paper garland for home decor? If not, then we are certain, going through this easy yet aesthetic venture will give you some perspective.
How to make tissue paper petal wall hanging using orange and blue tissue paper?
Supplies:
- Wooden dowel, ¾” wide and 24” long; easily available at a hardware store
- Orange and blue tissue paper in bulk
- String
- Scissors
- Clothespin Clips
- Pen
- Wooden beads (optional)
How to proceed?
- We will start by making the petals of the garland. Take a pile of orange tissue papers and fold them lengthwise into a stack about 2” wide. It should have 6 layers. Use the paper clips to hold the stack together.
- Make a template for the petal. You can cut out an oval or a circle about 4 cm in diameter. Ensure to keep the template on the grainy side of the tissue paper while sketching it out using a pencil.
- Use the screw punch to punch out holes in all the stacks of petals.
- Cut out the petals.
- Repeat the same process with blue tissue papers till you have enough petals to make a garland out of them.
- If you want to create a fluff on the petals, then stretch the paper gently at the edges. This will create a ruffle and a fluffed up texture to your petals. You can do 4 or 5 petals in one go in order to save time.
Optional:
Wind a string tightly around the dowel. Extend at least 2 inches long strings along the length of the dowel. You will be threading the petals to these strings.
- Gently, start pulling the petals through these strings, 2 – 3 at a time. You can do this alternatively with orange and blue tissue paper, or one string with orange paper petals and the other with blue. The decision is up to you. Add the wooden beads as well if you have them.
- Viola! Your garland is ready to flank the entrance of your party.
Orange and White Tissue Paper
Orange and white tissue paper is quite a rare combination to see at parties, but it does wonders in the world of arts and craft. There are very many floral designs that you can make using orange and white tissue paper. Apathy from that, you can also learn how to make some artsy things such as a bird! Curious yet? D’uh.
How to make a mockingbird using orange and white tissue paper?
Supplies:
- 9 white tissue paper strips
- 3 orange tissue paper strips (for the wings and tail)
- 1 construction paper, preferably brown (for the beak)
- 1 pipe cleaner, or a 10 inches long wire
- Googly eyes, or beads
- Elmer’s school glue or tacky glue
How to proceed?
- Stack up the tissue papers and cut them into strips of 10 inches and 2 inches.
- Take 3 strips, white-orange-white, in the same order and start making an accordion fold to that lengthwise.
- After making a complete accordion fold, crease the paper in half along the shorter side.
- Use a pencil to make triangles on either side of the edge and cut them out using a pair of scissors.
- Make three of these stacks the same way.
- Take the pipe cleaner and fold it in half. Unfold it and center it under the stacks so that the ends come out where the triangles are cut.
- Twist the wire together once right next to the stack to hold the layers together. The end of the wire should point out to the sides.
- Now, lay the second stack crosswise over the first one so that the two stacks together look like a cross.
- And finally, lay the third stack over the second stack crosswise.
- Now, twist the wire 5 times in order to ensure all the stacks are secured.
- Carefully flip open each stack of tissue, one layer at a time. This step requires a little bit of time, so be patient.
- Don’t worry if you accidentally tear the tissue. You can fix it in the next step.
- When you are done making your pom pom even all around, just use your scissors to trim the ends that stick out.
- To make the beak of the bird, take a small piece of construction paper and fold it in half.
- Sketch out a triangle on either side such that their ends meet at the crease of the fold. Cut it out and you will have a diamond shape carved out in the middle of the construction paper.
- Take the carved-out diamond and crease it in half both ways.
- Now, hold the diamond with both of its edges and press the edges. You will see a beak-like shape made.
- Glow the beak and eyes on the pom pom you made earlier.
- Cut out the wings and the tail of the bird using orange tissue paper.
- Stick them on the bird. You can use a pencil to ensure that the wings and the tail have properly been glued to the pom pom which will later be our bird.
- Fold the extended pipe cleaner such that it makes a small loop. This will make for the feet of your miniature bird.
- Viola! Your cartoon bird with googly eyes is ready to peck its way to life.
Let’s get virtual!
Orange and white tissue paper combination may not complement home decor as much, but one can make some truly magnificent flowers using them.
How, you ask?
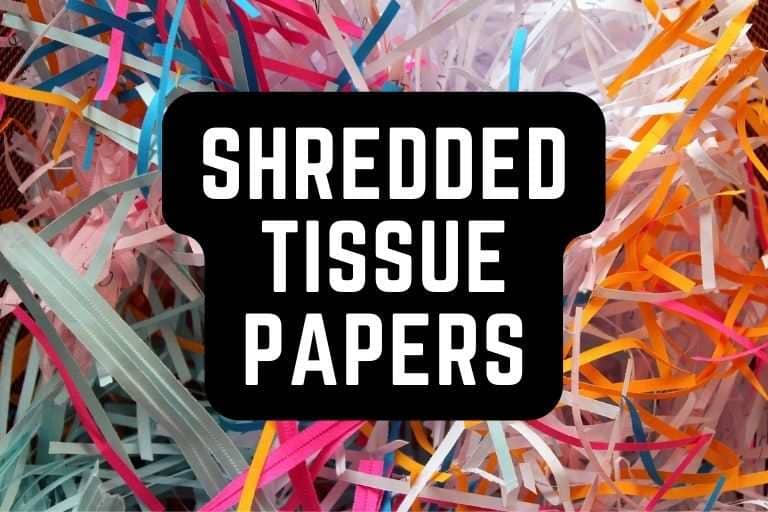
Well, to begin with, you can start shredding the paper. You look a little confused. Hold up, here is a YouTube tutorial that will definitely help turn that frown upside down.
“How to Make Tissue Paper Flowers?”

In this YouTube tutorial, you will learn how to make orange tissue paper flowers using shredded white tissue paper as the center.
And the best part is, all of this can be done within a few hours with easily available supplies at home.
You will have to start by making an accordion fold to the yellow tissue paper. A few snips here and a few snips there, and use the shredded tissue paper as the center now.
Orange and Black Tissue Paper

Halloween’s around the corner. It is the only holiday where mini spiders on your cookies do not make you jump off the couch because they’re made of chocolate. The spider, not the cookies. Just kidding!
If you have toddlers in your house, then we have an easy-peasy way to engage their interest. And we bet you will not even have to step out of the house to purchase the ingredients. Take a swirl to your pantry and get ready with the supplies.
How to Make a Halloween Pumpkin Using Orange and Black Tissue Paper?
Supplies:
- 1 foam pumpkin, easily available in supermarkets and dollar stores
- Orange and black tissue paper, in bulk
- Glue stick
- Marker
- Chopstick, or a bamboo skewer
How to proceed?
- In order to make sure you have the right pattern for alternate black and orange, use the marker to draw the layers of each color alternatingly.
- In order to make that step easier, get a foam pumpkin with an even number of bumps.
- Cut the tissue papers, both orange and black, into smaller squares.
- Use the bamboo skewer and form a ‘floret’ on one piece of orange tissue paper. This will be used to attach the tissue paper to the pumpkin.
- For sticking the tissue paper to the pumpkin, we recommend that you use hot glue rather than school glue as this process would require a lot of wear and tear. Thus, this is done to ensure that the pieces are held up.
- It is also recommended that you start working on the layers with black tissue paper after you are done working on the layers with orange tissue paper. This would give the tissue paper enough time to dry and stick to the pumpkin.
- And viola! The color contrast of your spooky pumpkin does make for a classic Halloween vignette.
- If you want, you can carve out googly eyes and a creepy smile for your pumpkin to make it spookier.
Where can I buy colored tissue paper?
Colored tissue papers are most commonly available in supermarkets, stationery stores and even office supply stores. Dollar stores have a variety of tissue papers in varied color combinations. You can also buy them online from various sites such as Amazon, Flipkart and Etsy.
Are orange tissue papers available on sale?
Yes, you can find tissue papers on sale although it is not really that common. Orange tissue papers are still available at pocket-friendly prices. It is also equally easy and convenient to buy them from almost any online store.
Are orange tissue paper squares available in the market?
Yes, you can find orange tissue papers cut out in squares at various places. Some manufacturers also manufacture orange tissue paper in rolls or reels. This is used for when tissue papers are needed in bulk, and also more in the amount of surface area covered.
Conclusion
Creativity knows no limits, especially when it comes to tissue paper arts and crafts. In fact, there are various other combinations of orange tissue paper with colors such as red and yellow which have their own creative zest underlying them.
You can check this page on Wikipedia for more information on tissue paper.
Thanks to arts and crafts, miniature art is only becoming trendy as the days pass by. There is an insurmountable number of other ways through which you can manifest the use of colorful tissue papers in your everyday life. So let’s flutter away in the cheerful and vibrant realm of colors to create something novel and innovative.
With this, we bid adieu!


Avni Deopura
Content Writer
An SEO Expert, a Prolific Content Writer, and a dreamer currently pursuing a postgraduate degree in Master of Science in Psychology from St. Joseph’s College of Arts and Science. She is working as a Content Producer and Social Media Analyst.
End of – “Orange Tissue Paper — Craft Decor Ideas and Mix-n-Match Art Fun Project”