
Erasers – those simple everyday tools tucked away in pencil cases – have long been revered for their indispensable ability to swiftly wipe away stray marks and mistakes.
But beneath their modest exteriors lies a world of untapped creative potential waiting to be discovered.
Join me as we journey beyond the conventional and delve into the enchanting realm of DIY eraser crafts.
From stamps to sculptures, jewelry to mosaics, these clever little erasers can transform into nearly anything our imaginative hearts desire.
Equipped with an eraser, a few handy supplies, and ample creativity, we’ll unlock endless artistic possibilities.
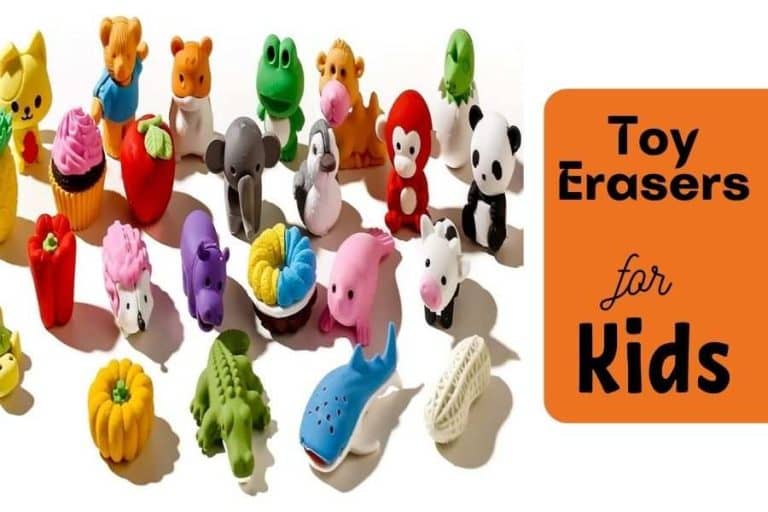
8 DIY Eraser Crafts Ideas for Kids
So leave preconceived notions of erasers behind.
It’s time to see these unassuming objects in a whole new light and explore the myriad ways they can become instruments of innovation and self-expression.
Let’s dive in!
Eraser Stamps: Imprinting One-of-a-Kind Designs
With the simple act of carving, an ordinary eraser morphs into a custom stamp perfect for adding personalized flair to stationery, artwork, and any printable surface. Follow these steps to handcraft your own signature eraser stamps:
- Choose a design. Opt for simple shapes, letters, or illustrations to start. Complex designs can be tricky for beginners.
- Trace the design lightly in pencil onto the eraser’s surface. This is your carving guide.
- Carve around the design with a craft knife, removing any areas you want left blank when stamped. Leave the main design raised.
- Test and refine the carving on scrap paper, adjusting until stamped impressions are clear.
- Apply ink or paint to the raised design before stamping. Press firmly for even coverage.
- Stamp away! Gently press onto your surface of choice to transfer the design.
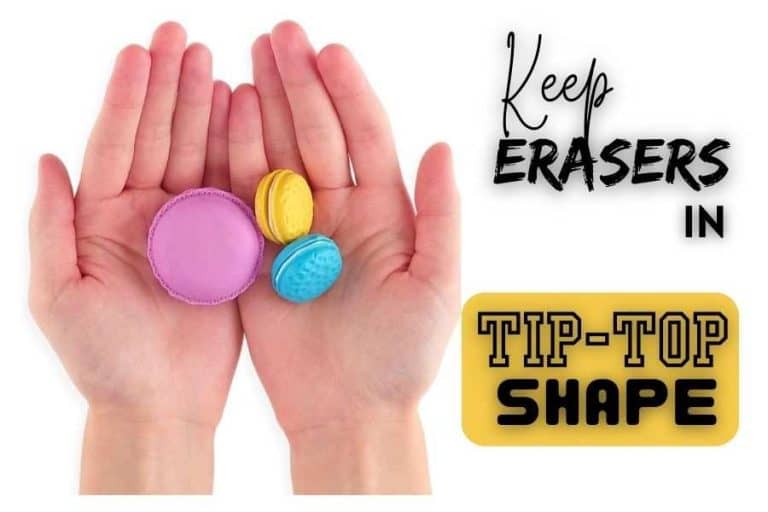
- Clean and store properly after using to maintain longevity.
With a personalized eraser stamp, you can add that special handmade touch to DIY projects, artwork, notes, and so much more. The possibilities are limited only by your creativity!
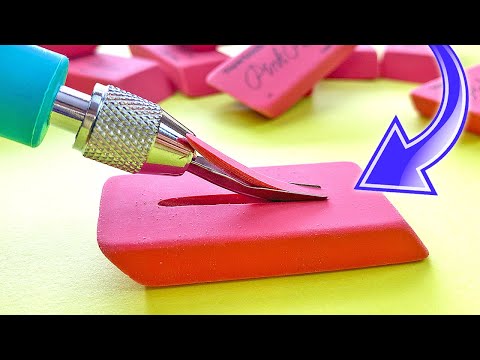
Eraser Carving: Sculpting Mini Masterpieces
Experience the meditative joy of bringing tiny sculptures to life with the art of eraser carving. With some careful cuts and patience, a humble eraser transforms into a detailed 3D work of art. Here’s how:
- Pick a design you’d like to carve. Animals and figures work well, but anything goes.
- Trace the design lightly on the eraser with pencil. This is your carving guide.
- Carve around the design with knife or tools, starting gently and going deeper as you gain control.
- Refine details with different carving tips for unique textures and depth. Precision is key.
- Consider sealing completed pieces to protect from wear (choose eraser-safe sealants).
- Display proudly and watch reactions when people realize your miniature marvel is carved eraser!
Let the imperfections and asymmetries become part of the art’s unique charm. And remember, patience and practice help build mastery over this meditative craft.

Eraser Jewelry: Accessorizing with Wearable Art
Give erasers a dazzling second life by transforming them into one-of-a-kind wearable art. Follow these tips to turn ordinary erasers into extraordinary jewelry:
- Select soft erasers that can be easily shaped and carved. Firm, dense ones are trickier.
- Decide on a design that suits the jewelry type you envision (earrings, pendant, etc). Keep sizing in mind.
- Carve outlines of your design into the eraser with fine tipped carving tools.
- Refine with details like textures, patterns, and dimension for visual interest.
- Attach findings like earring wires, bails, jump rings, and necklace chains for assembly.
- Consider adding color with acrylic paints or inks to make designs pop.
- Seal for longevity (optional). Choose jewelry-safe sealants.
- Show off your wearable art! Unique handmade jewelry is always a conversation starter.
Part craft, part accessory – eraser jewelry lets you dream up and display little works of art wherever you go. The options are endless when you view erasers through an artist’s eyes.
Eraser Mosaics: Building Vibrant Works of Art
Experience the magic of transforming tiny eraser bits into brilliant mosaics brimming with color and texture. Grab some erasers and glue and let’s make mosaic magic:
- Cut or break erasers into small irregular pieces – these will be your mosaic “tiles.”
- Plan a design and sketch an outline to follow when gluing your mosaic together.
- Working section by section, glue eraser pieces onto your surface, following your outline.
- Strategize colors to create patterns, depth, and gradients. Contrast adds great visual interest.
- Embrace the gaps! Irregular eraser edges make mosaics wonderfully textured and charming.
- Allow adequate drying time for glue before displaying your masterful mosaic creation.
With this addictively fun craft, you can cover and transform all kinds of objects with eraser mosaics – trays, boxes, frames, vases, and more. Wherever your creativity takes you!
Eraser Collages: Mixing Media with Texture
Collaging with erasers as your medium adds remarkable depth and dimension. Follow these tips for eye-catching, texturally rich mixed media eraser collages:
- Select diverse erasers – smooth, grainy, large, small – for lots of textures to work with.
- Cut or shape eraser pieces into your desired forms – organic, geometric, abstract, etc.
- Arrange and glue pieces on your backing surface. Overlap layers for depth and shadows.
- Strategically combine contrasting eraser colors and textures for striking effects.
- Incorporate other media by layering in paper pieces, photos, paint details, drawn elements, fabric scraps, or anything you please!
- Step back occasionally – fresh eyes help ensure pleasing composition and flow.
The creative possibilities are limitless when you view erasers as artistic media waiting to be unleashed. Let your imagination run wild!
Eraser Embossing: Dimensional Detail
With eraser embossing, you can add elegant dimension and texture to paper crafts in minutes. Here’s how:
- Choose soft erasers that can conform to paper. Dense, firm erasers won’t emboss effectively.
- Use stylus to sketch design lightly onto paper, pressing firmly so paper indents. This is your embossing guide.
- Rub eraser over indentations, pressing gently but firmly to push paper down and smooth fibers. Voila – instant elegant raised embossing!
- Try different pressures to create varied embossing depths and textures.
- Enhance with inks (embossing ink followed by embossing powder creates a striking contrast effect).
- Embellish embossed art with calligraphy, painting, or collage for mixed media masterpieces!
With this simple technique, you can add that special handcrafted touch to stationery, wall art, invitations, cards, scrapbooks, and anything else that strikes your creative fancy.
Eraser Stenciling: Masking Artistic Possibilities
Discover the artistic possibilities that emerge when you use erasers as stencils. Here’s how:
- Cut erasers into shapes – keep designs simple with low intricate details to start.
- Arrange cut erasers on paper or canvas to form your desired stencil design.
- Adhere eraser pieces lightly with removable adhesive like poster putty.
- Apply paint over the “stencil” with sponges, brushes, or other tools.
- Carefully lift erasers to reveal your one-of-a-kind stenciled creation!
- Clean and store erasers to reuse them as stencils again and again.
This technique opens up a world of DIY pattern-making potential. Let your imagination run wild and see where eraser stenciling takes you!
As you can see, the artistic possibilities are endless when you think beyond the eraser’s intended purpose. With some simple techniques and a willingness to experiment, these inexpensive everyday objects become tools for creative expression. I hope these ideas have sparked inspiration. Now grab some erasers and start crafting your masterpieces!
You can visit artistshelpingchildren.org to check eraser craft ideas for kids.
You can leave your artwork for us to review and publish on our website by visiting our contact us page.

Leeisha
Creative Artist
Leeisha is a talented artist with a passion for drawing, coloring, painting, and making paper crafts. Known for her charming and talkative personality, She always finds new and exciting ways to bring her imagination to life. Whether through sketching, coloring, or paper crafting, Leeisha has a gift for turning her ideas into beautiful works of art.