
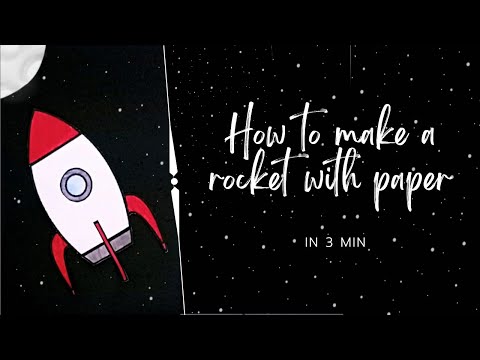
Boost your child’s motor and sensory skills with these fun and engaging Paper Rocket DIY Craft.
Do you want to encourage your kids to have fun while learning new skills? Then why not try making a paper rocket for kids?
It’s a simple, easy and inexpensive project that’s perfect for kids of all ages.
This fun activity will keep them engaged for hours and encourage them to explore their creativity and imagination.
DIY Paper Projects are a great way to improve your child’s motor and sensory skills.
These simple projects like making a paper rocket can have a big impact on your child’s development.
From cutting and taping to using their imagination, these projects will help your child improve their fine motor skills and stimulate their senses.
In this guide, we’ll show you step-by-step how to make your own paper rocket, and the best part is you only need a few materials.
Supplies
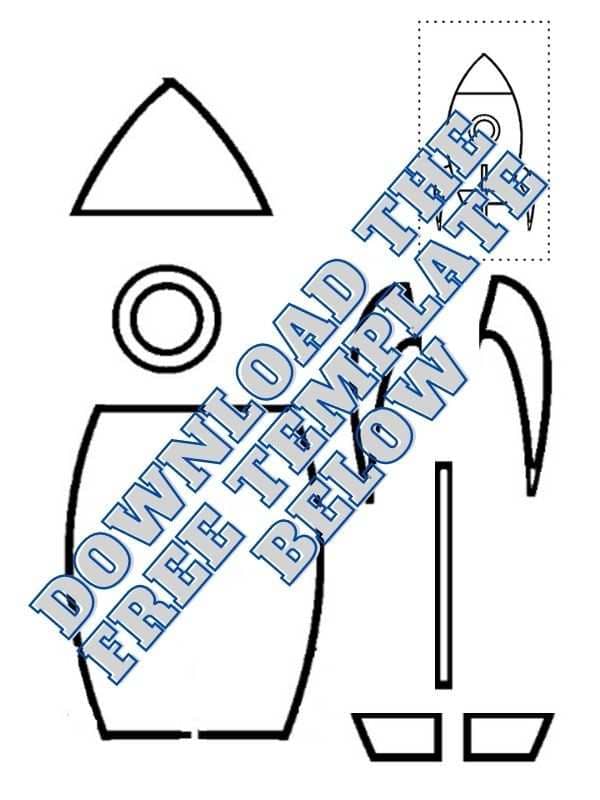
- Rocket printout. A free downloadable template on Rocket is included in this post.
- Scissors
- Tape/Glue
- Marker
- Colored Pens/Pencils
Step-by-Step to Make a Paper Rocket

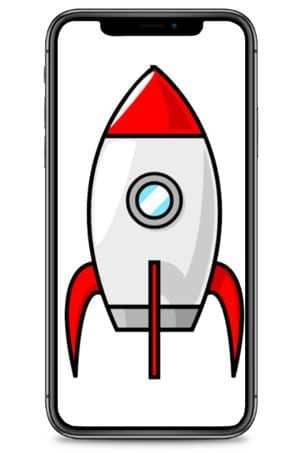
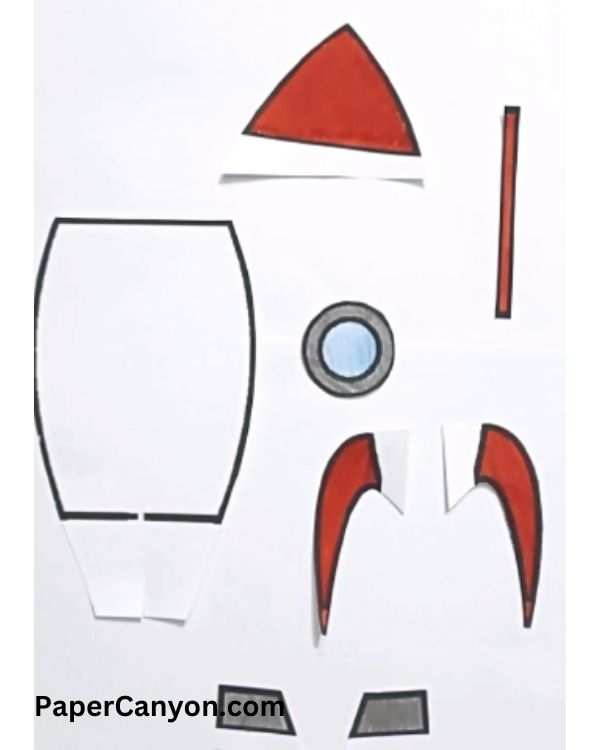
Step 1: Print out the template
The first step in making your Paper Rocket DIY for Kids is to print out a template. You can scroll down to find a downloadable template of rocket to print. If you’re creating your own, make sure the template is symmetrical and has a cone shape.
Step 2: Cut out the template
Once you’ve printed out the template, use the scissors to carefully cut it out. It’s important to be precise and to follow the lines of the template to ensure the rocket will look symmetrical when assembled.

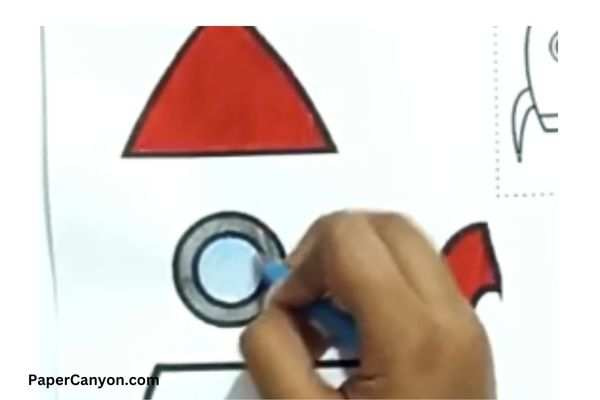
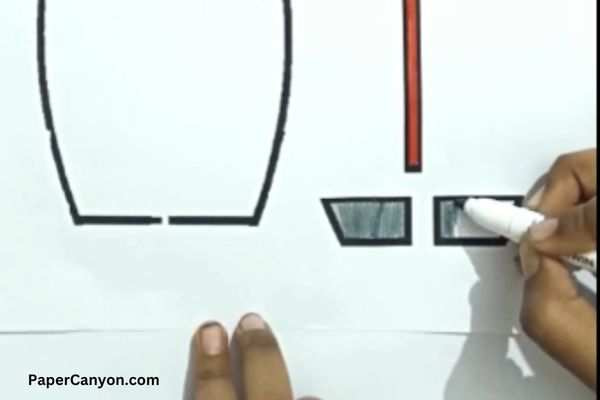
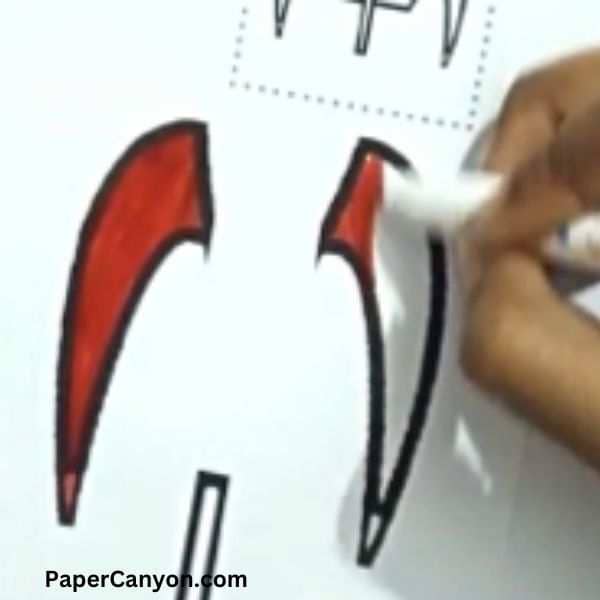
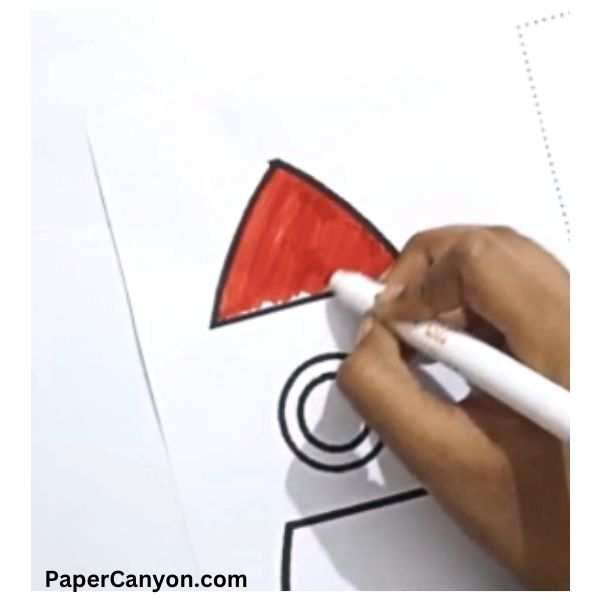
Step 3: Color the rocket parts
This is the fun part! Use the marker and any coloring material you have to make your paper rocket look as cool as possible. Encourage your kids to use their imagination and let them have fun decorating their own rockets.
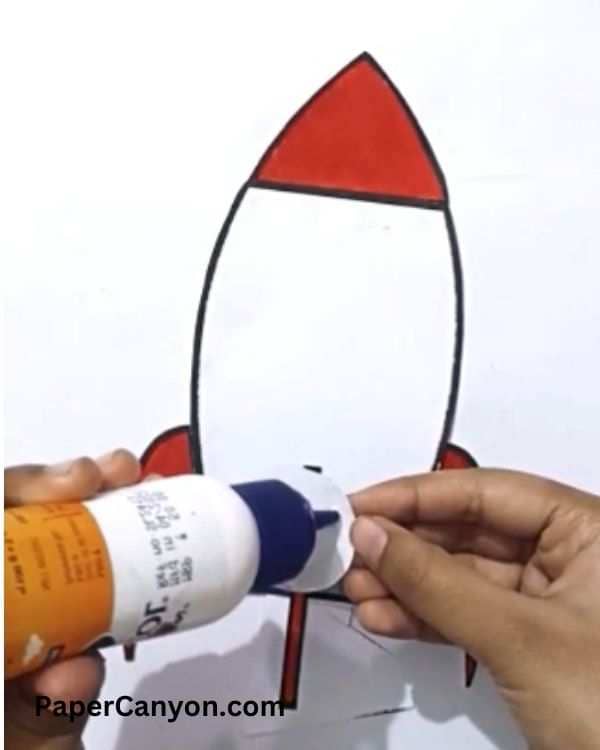
Step 4: Assemble the rocket parts
Once the rocket is decorated, it’s time to assemble it. Start by rolling the template into a cone shape, making sure to overlap the edges and tape them together to keep the shape. Then, use tape to secure the edges of the rocket.
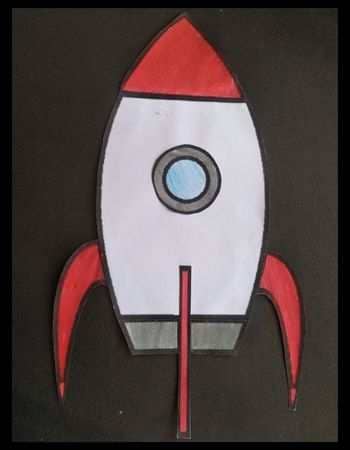
Step 5: Display your rocket!
The final step is to click some awesome photos of your Paper Rocket. You can post these photos on our facebook page.

You can also save all your kids’ artwork and other photos online by hosting your own website. You can reach out to us for a unique website name matching your child’s name or any other name that you could resonate with. We will help you in creating a unique website for you.
Related: Learn to Draw the Grinch
Subscribe to PaperCanyon!
SUBSCRIBE for first-hand access to our huge collection of exclusive
FREE printables updated from time-to-time!
![A Guide to Making a Paper Rocket DIY for Kids [Free Template]](https://mlapnvimd7ak.i.optimole.com/w:800/h:350/q:mauto/f:best/https://papercanyon.com/storage/2023/02/download-paper-rocket-template-for-kids.jpg)
![A Guide to Making a Paper Rocket DIY for Kids [Free Template]](https://mlapnvimd7ak.i.optimole.com/w:auto/h:auto/q:mauto/f:best/https://papercanyon.com/storage/2023/02/download-paper-rocket-template-for-kids.jpg)
A Guide to Making a Paper Rocket DIY for Kids [Free Template]
Difficulty: Easy15
minutes15
30
minutesMaking a paper rocket is a fun and easy activity that kids can do with just a few materials. You’ll need rocket template, scissors, tape or glue, a marker, and any colored pens or pencils.
First, you’ll print out the rocket template or draw your own. Then you’ll cut it out and color it however you want. Once it’s colored, you’ll need to glue the parts together.
That’s it. You have your beautiful paper rocket ready!
Making a paper rocket is a fun way to use your imagination, practice cutting, coloring and gluing, and play with your friends and family. Try making one today!
Supplies
Rocket Template
Scissors
Tape/Glue
Marker
Colored Pens/Pencils
Step-by-step
- Printout of the template
You can download the rocket template to your device and take a print of it. You can find the downloadable rocket template in this article. - Cut out the template
Cut the parts of the rocket carefully. Be watchful of your hands and fingers. Parents should supervise kids in properly cutting the template. - Color/Decorate the rocket
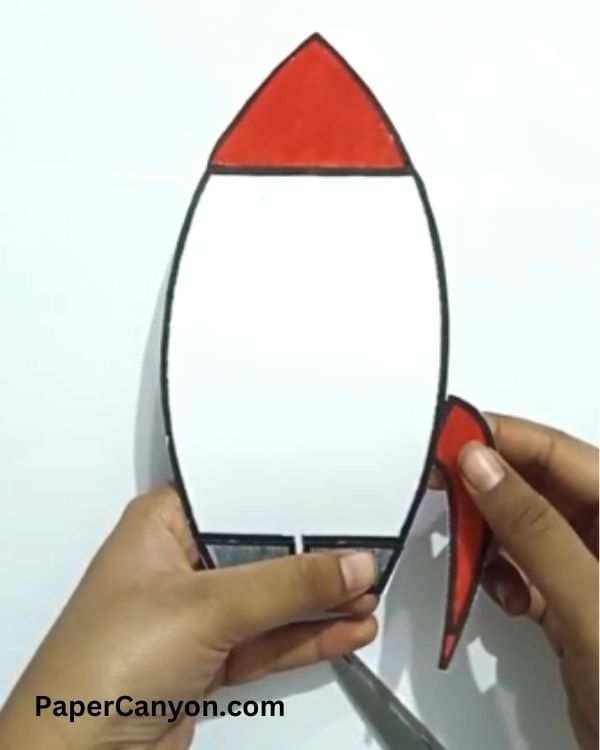
Use color options that are displayed here or you are free to color it in your own style. - Assemble the rocket
Now, get ready to assemble the rocket parts. Glue the parts well so that they look neat and clean. - Display your rocket!
Your paper rocket is ready for display. You can place it on a colored sheet to make it stand out and look beautiful.
Craft Video
Notes
- Parents need to be very careful while using scissors. They should assist their kids in an activity that involves sharp objects like scissors.
You can also visit Wikipedia if you wish to learn more about rockets.
You can leave any comment or share any ideas for us on our Contact Us page.

Leeisha
Creative Artist
Leeisha is a talented artist with a passion for drawing, coloring, painting, and making paper crafts. Known for her charming and talkative personality, She always finds new and exciting ways to bring her imagination to life. Whether through sketching, coloring, or paper crafting, Leeisha has a gift for turning her ideas into beautiful works of art.


![Best Types of Paper for Sleek ‘n’ Chic Crafting [Updated 2023]](https://mlapnvimd7ak.i.optimole.com/w:768/h:512/q:mauto/f:best/https://papercanyon.com/storage/2022/08/Paper-for-Crafting-Easy-Guide-768x512.jpg)
![Best Types of Paper for Sleek ‘n’ Chic Crafting [Updated 2023]](https://mlapnvimd7ak.i.optimole.com/w:auto/h:auto/q:mauto/f:best/https://papercanyon.com/storage/2022/08/Paper-for-Crafting-Easy-Guide-768x512.jpg)